When you install LED wall washer lights, you will meet two methods: surface mounting and recessed mounting. Each method has its own unique technical requirements and applicable scenarios. Surface mounting is relatively simple, making it suitable for retrofit projects. While recessed mounting while more complex, offers a more aesthetically pleasing visual effect. This article will begin with the preparations and detail the selection criteria and steps for each installation method, as well as techniques for adjusting angles and optimizing lighting effects, to help you achieve professional-grade LED wall washer installation results.
Table of Contents
LED Wall Washer Installation Preparations
Before install LED wall washer lights, we need to clarify lighting requirements and prepare appropriate products. Thorough preparation is essential to ensure a smooth installation:
LED Wall Washer Lighting Requirements
Architectural outline lighting: Typically, luminaires with narrow beam angles (10°-30°) are required to highlight architectural lines.
Overall wall wash: We recommend luminaires with wide beam angles (45°-60°), and carefully calculate the mounting spacing to ensure even light coverage.
Dynamic lighting effects: If dynamic lighting is required, a DMX control system is required, and the signal cable layout must be planned in advance.
Suitable Product Specifications
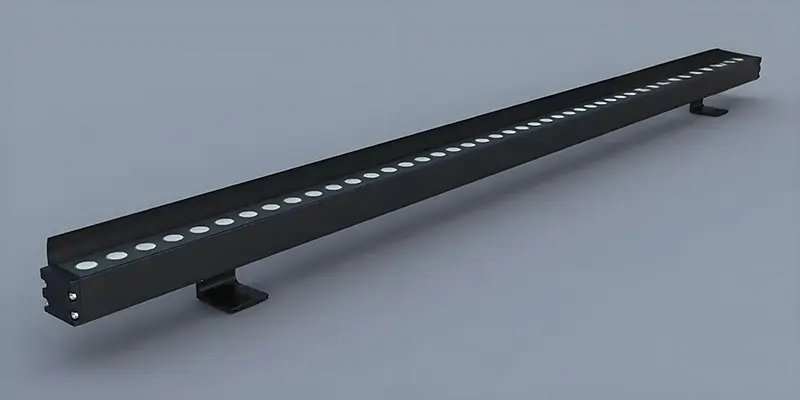
LED Wall Washer Length and Power: Common specifications include 500mm/12W and 1000mm/24W. Longer lamps are more suitable for larger wall surfaces.
Voltage Requirements: Low voltage is preferred. Low-voltage models (24VDC) are safer, but require a power supply.
Beam Angle: Narrow angle (10°-30°) is suitable for long-distance projection, while wide angle (45°-60°) is suitable for close-range wall washing.
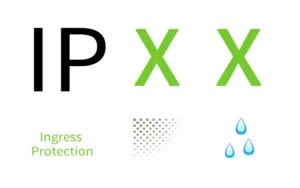
IP Rating: IP65 or higher is required for outdoor use; IP67 is recommended for humid environments.
Material: Die-cast aluminum housing provides excellent heat dissipation and is suitable for high-power lamps.
Prepare All Accessories
Common installation accessories include brackets, expansion screws, waterproof connectors, power cables, control systems, embedded components (embedded), etc. All preparations must be completed at once.
Fixings: Includes stainless steel brackets, expansion screws (M6/M8), lock washers, etc.
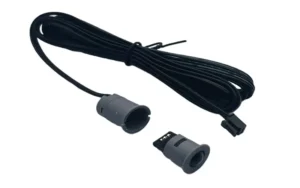
Electrical Accessories: Waterproof junction box (IP68), waterproof putty, and cables (2.5mm² or larger recommended).
Control System: If dimming is required, a DALI or 0-10V controller is required; DMX512 fixtures require a DMX decoder.
Supplementary Materials: Embedded components (for flush-mount installation), cable ties (for cable management).
Surface-mount vs. Recessed-mount LED Wall Washer: Which to Choose?
Surface-mount LED wall washers are suitable for wall structures where grooves are not necessary, such as renovations of already renovated spaces, thin-walled structures, or rental properties. This method offers a quick installation period, relatively low costs, and easy maintenance and replacement. However, a drawback of surface-mount LED wall washers is that they protrude from the wall, potentially affecting the overall aesthetic.
Recessed-mount LED wall washers are suitable for new construction or large-scale renovations, especially in spaces where aesthetics are paramount. Recessed-mount LED wall washers achieve a flush appearance with the wall or floor, creating a more streamlined and modern look. However, this method requires a high level of wall thickness, which increases the installation difficulty and cost.
How to Install a Surface-mount LED Wall Washer Lights?
Positioning and Marking
Use a laser level to determine the fixture mounting line and mark the punch points with a marker. Then, ensure the fixtures are evenly spaced (typically 50-100 cm apart, depending on the wattage of the fixture).
Securing the Mounting Bracket
Drill holes at the marked points and insert expansion screws. Secure the fixture bracket with screws, ensuring it is level and not tilted.
Wiring and Fixing the Fixture
Strip the power cord and connect it to the waterproof terminal block (pay attention to the positive and negative polarity). Then, snap the LED wall washer into the bracket and adjust the illumination direction.
Power-On Test
Perform a power-on test to check for proper lighting performance.
How to Install Recessed LED Wall Washer Light?
Calculating Grooving Dimensions
The key to flush-mount installation is precise groove cutting. First, calculate the groove dimensions based on the fixture dimensions. The length and width should be 5-10mm larger than the fixture’s overall dimensions to allow for installation adjustments. The groove depth should be determined based on the fixture’s thickness. Ensure the fixture is flush with the wall when fully embedded.
Straight Cutting Lines
When cutting with an angle grinder or groover, ensure the cutting line is straight and vertical. Control the feed speed during cutting to avoid over-speeding and cracking the wall. After cutting, use a chisel and hammer to remove debris from the groove and ensure a smooth, flat surface.
Pre-embedded Aluminum
When pre-embedded aluminum wall washer fixtures, ensure they are securely fastened to the wall. Apply structural adhesive or use expansion bolts to secure the fixtures to prevent loosening due to thermal expansion and contraction.
Adjusting the Levelness of the Fixture to the Wall
First, ensure consistent groove depth. Use a depth gauge to check the depth of each mounting groove. For inconsistent depths, you can place adjusting shims at the bottom of the grooves, or backfill any grooves that are too deep.
Angle Adjustment and Lighting Efficiency Optimization
Generally, the angle between the wall washer and the wall should be between 15 and 30 degrees. The specific angle depends on the distance between the fixture and the wall, the wall height, and the desired lighting effect.
Conclusion
If you’re planning to install LED wall washer lights project, we recommend conducting a detailed site survey before determining the most suitable installation method. For complex embedded installations, you may want to create a small sample for testing to verify the feasibility of the process.
If you need professional LED wall washer installation services or high-quality lighting, contact us today for a free proposal and quote!
FAQ
Where are LED wall washers suitable for installation?
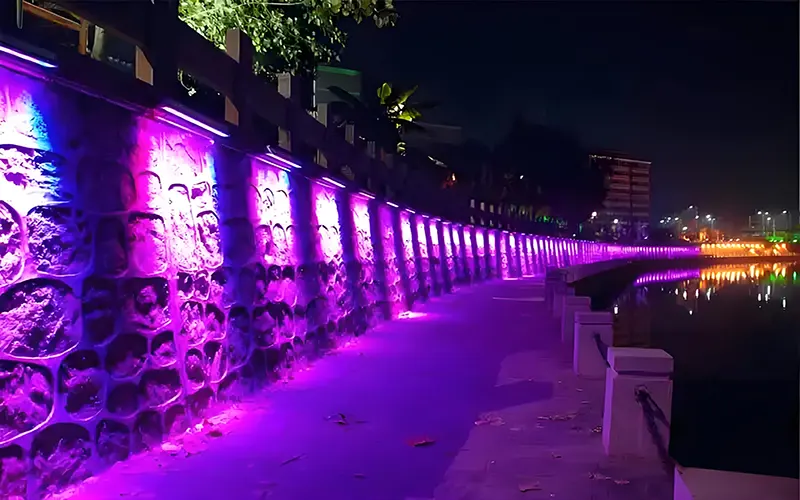
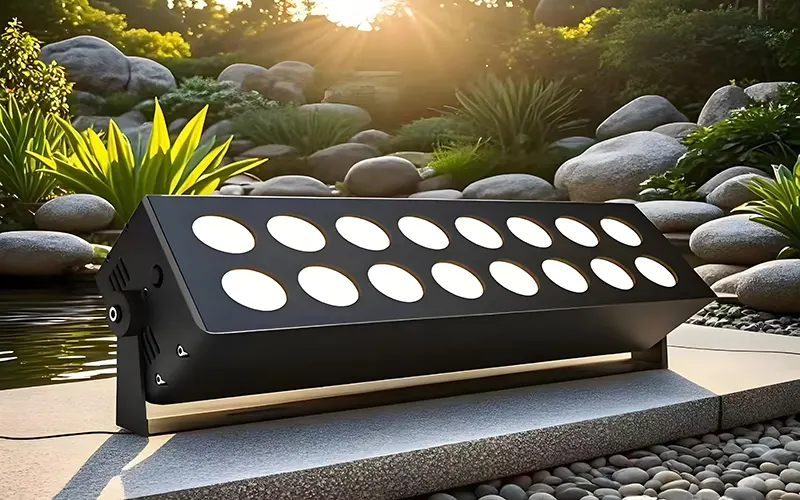
LED wall washers are primarily used in areas such as building facades, bridge guardrails, landscape architecture, commercial exteriors, and large signage. Their primary function is to highlight wall structures and enhance nighttime visual appeal.
How can I dim or change the color of an LED wall washer?
LED wall washers can use a 0-10V/DALI controller for single-color lighting, and a DMX512 system for RGB lighting. Be sure to keep the signal and power cables separate.
How do I determine whether my LED wall washer is suitable for surface or recessed mounting?
For high-end projects with high aesthetic requirements, recessed mounting is recommended. For later installations or limited construction conditions, surface mounting offers greater convenience and flexibility.